Instapage Vs Unbounce: The Best Choice For You
You’d like to know the best option when it comes to Instapage vs Unbounce.
I completely get it.
After all, choosing the best landing page software can sometimes be challenging.
So with that being said, please be sure to follow along with this comparison post…
As it’s going to make the process of choosing much easier for you.
The Instapage Vs Unbounce Ultimate Comparison
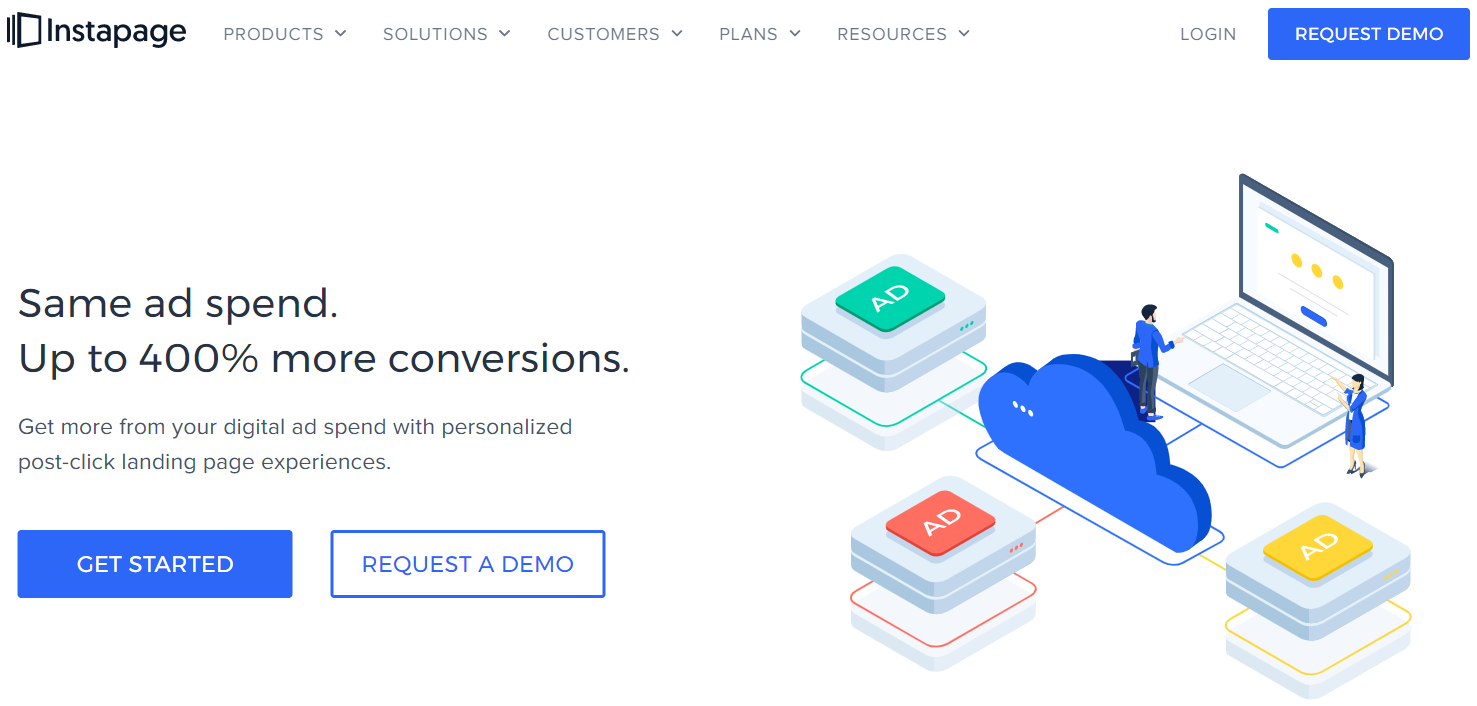
First up we have Instapage.
This software allows you to create personalized landing pages that are higher-converting.
And according to what Instapage themselves has to say:
Same ad spend. Up to 400% more conversions.
And then we have the other landing page builder.
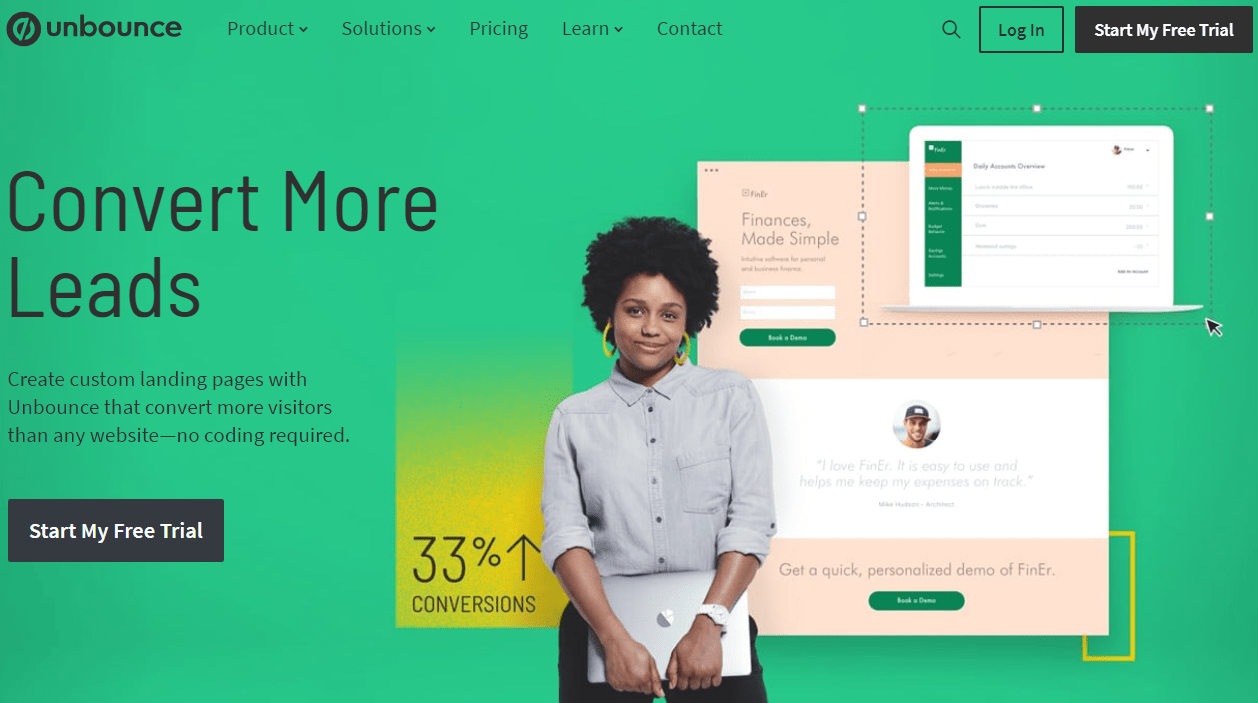
Unbounce allows you to create custom landing pages that convert more visitors.
Don’t forget, there’s no coding required either.
Unbounce, similar to Instapage, also happens to come with a free trial for 14-days too:
And before we get into the really good stuff?
I created a quick video in case you’d like the cliff notes of comparing these two builders:
If you decided to watch the video, make sure that you read the rest of the post for more details.
Here is a quick comparison when it comes to the features that each software has.
Instapage Features
- AdMap
- Heatmaps
- Instablocks
- AB Split Testing
- Post Click Score
- Conversion Analytics
- Landing page builder
Starts $199//month
Unbounce Features
- Popups
- Sticky bars
- AB split testing
- Unlimited domains
- WordPress integration
- Landing page builder
Starts $99//month
There are many more features that come along with either too (which I’ll get to).
I will also be heavily focusing on the comparison of creating landing pages.
After all, that’s what both of these software tools are all about.
So let’s get into that right now.
Creating Simple Yet High Converting Landing Pages
So there are a few things that I’m looking for when it comes to landing pages:
- Simplicity.
- Helpful templates.
- Ease of use when it comes to the editor.
After all.
It’s never a fun scenario when software comes with an extremely steep learning curve.
So let’s first take a walkthrough of the entire process of creating landing pages with Instapage.
Instapage Landing Pages

This is actually the first section that appears when going to create a landing page.
Here are the options that you get to choose from:
- Standard Landing Page: This is what I will be using in this example.
- AMP Landing Page: These are super-fast mobile pages (only for Enterprise plan).
- Upload Instapage File: Helpful if you’ve previously downloaded an Instapage file.
After clicking on Standard Landing Page…
You get the ability to choose from many templates depending on what your goal is.
Here is what the next section looks like in terms of choosing a template to use:

You can use these landing page templates for pages such as:
- Trial signup.
- Product sales.
- Demo request.
- Thank you pages.
- Special promotions.
- Don’t forget about generating leads as well.
There’s plenty more too (which you can see in the image above)…
But here is the template that I will be using to edit with their drag and drop editor:
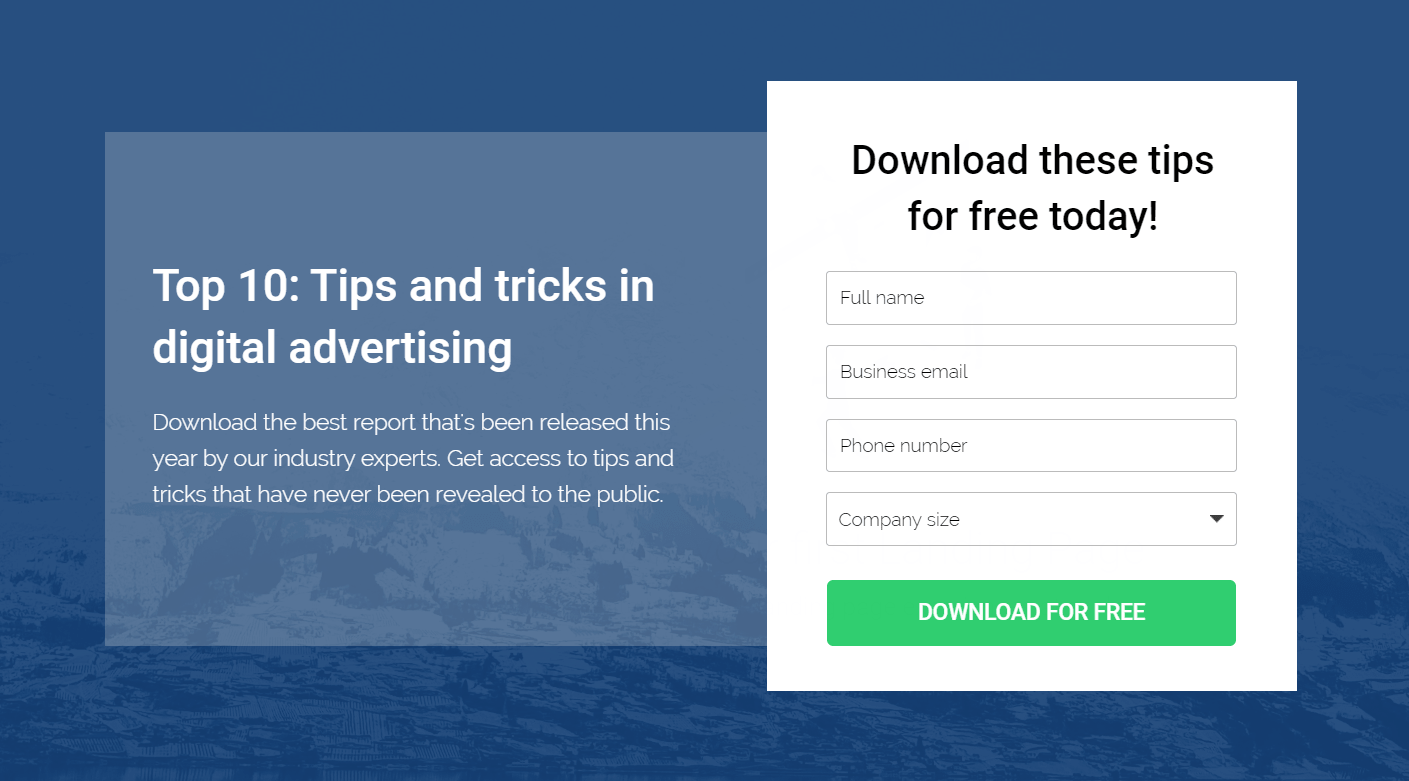
Note: This is just the top part of the template (there’s also much more below it).
After selecting your landing page template you will just need to give it a name.
I decided to go with:
Instapage Landing Page.
Original, I know 🙂
Upon naming your new landing page, a screen will slide over as shown in the picture below:
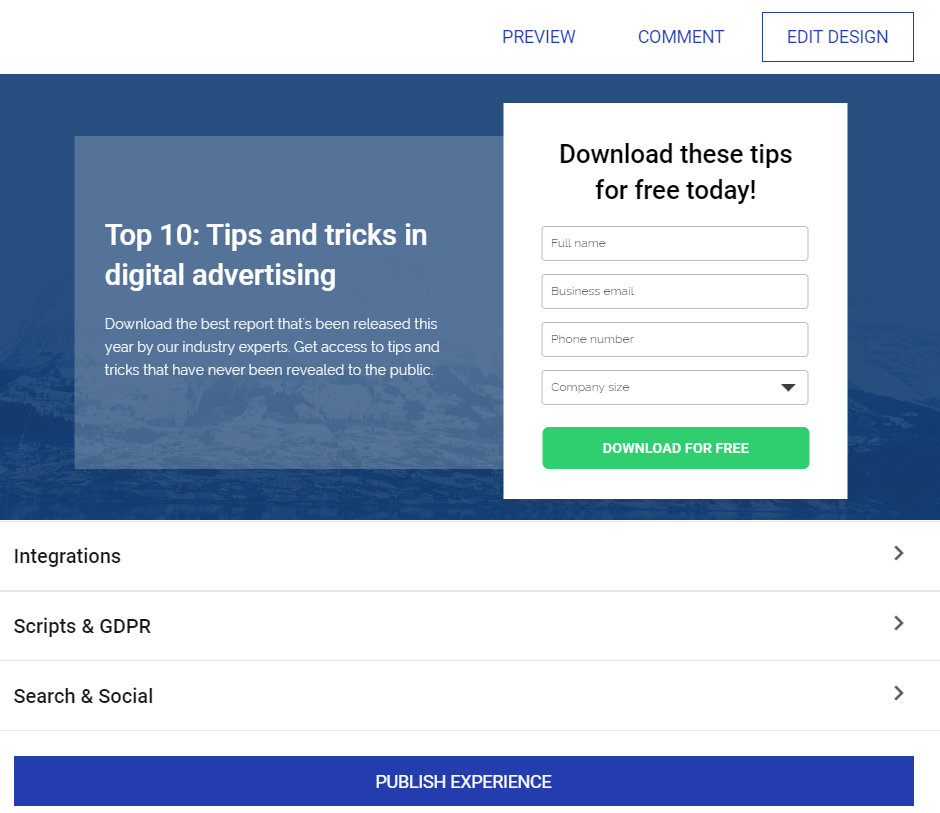
Aside from editing your landing page, there’s also the option for Integrations which includes:
- Analytics Integrations: Like Facebook pixel or Google Tag Manager.
- Form Integrations: Anything that’s related to sending form submissions.
- Lead Notifications: You get sent an email any time you receive a new lead.
Note: Instapage has plenty of other standard integrations even for:
- eCommerce such as PayPal, Stripe, Shopify, Venmo, and more.
- CRM such as ActiveCampaign, Salesforce, Infusionsoft, and Zoho.
- Advertising like Google, Facebook, & LinkedIn Ads and many more.
- Email marketing like Aweber, GetResponse, ConvertKit, and many more.
And that’s only scratching the surface, but back to where we were.
Under Integrations you have the ability to edit:
- GDPR compliance which is always helpful.
- Search and social titles, descriptions, images, etc.
This will ensure that your landing page looks great when shared on social media websites.
Let’s get to the fun part though and click on EDIT DESIGN.
Now here is the first look at the complete Instapage drag and drop editor and design:
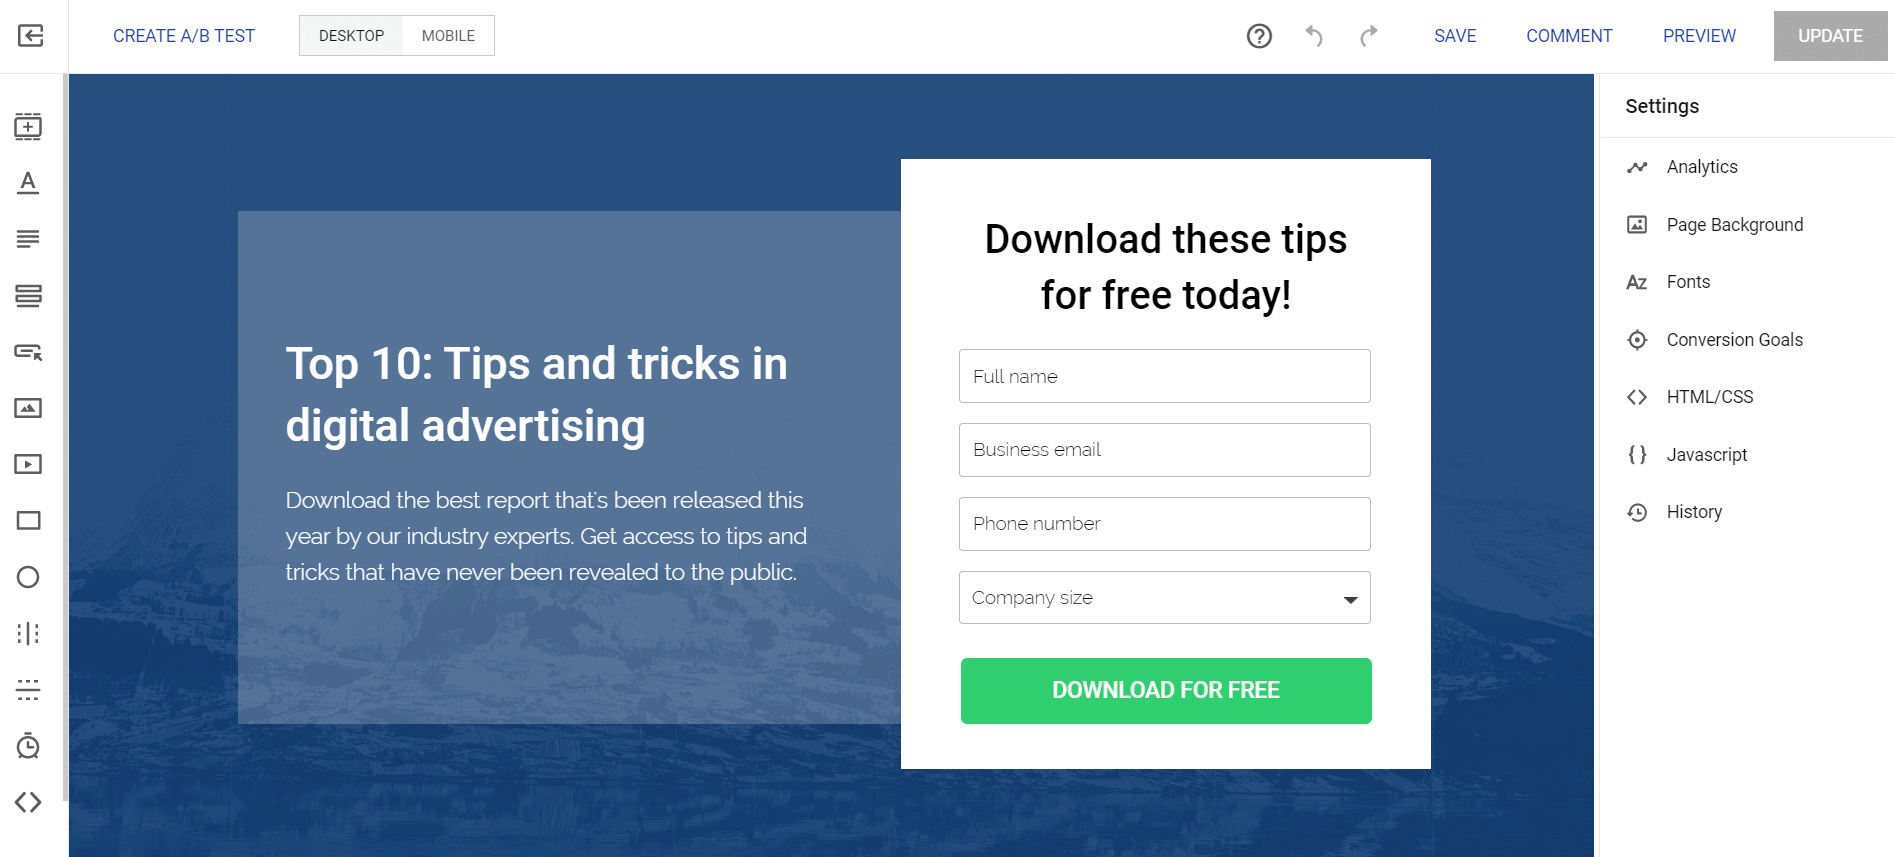
So allow me to give you a very quick walkthrough of what’s available for you to use.
On The Top Of The Editor
- You create a/b test (which I will do a complete section on).
- You can edit your landing page based on desktop or mobile.
- Lastly, you have the standard options like save, comment, preview, and update.
Note: Comment is only for the Enterprise plan and it allows you to collaborate with your team.
On The Right Side Of The Editor
- Analytics like Google Ads & Analytics, Facebook Ads Manager, etc.
- Page background for being able to upload an image if you like.
- Conversion goals, for example, could be a simple form submission.
- And a few more things like fonts, HTML/CSS, Javascript, and of course your history.
Now onto the important stuff that directly effects editing your high-converting landing page.
On The Left Side Of The Editor
- Instablocks (I’ll talk about this next).
- Essential landing page additions like headlines, paragraphs, forms, buttons, etc.
- Don’t forget about images, videos, boxes, lines, and you can even use a countdown timer.
What I love most about their editor is its simplicity:
I was able to figure everything out on the first try all by myself.
That’s a very good sign for me when I’m looking to test out the functionality of the software.
Here is just how simple it is to add something to your landing page:
- Click on the appropriate icon (on the left side) that you’d like to use.
- Drag it where you want on the page and then make your appropriate changes.
Here’s a feature that I mentioned previously to help make the process even easier.
Instapage Instablocks
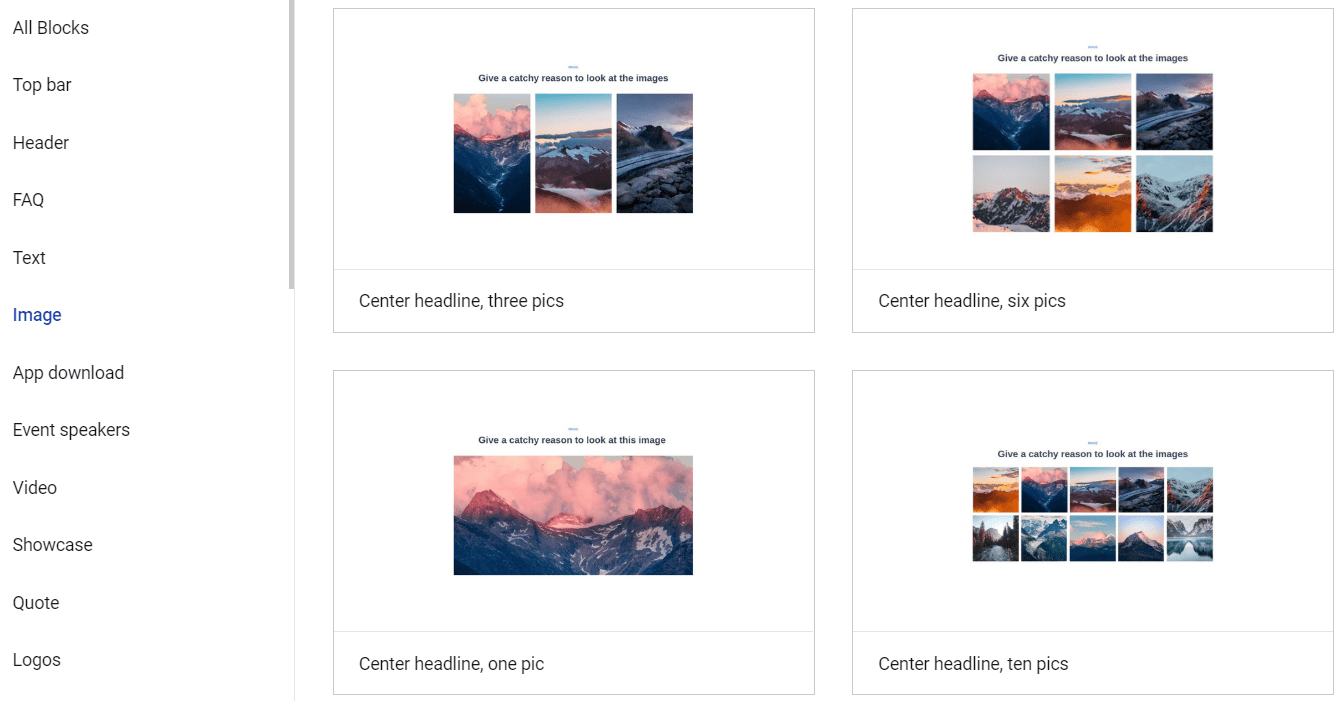
According to Instapage themselves, this isn’t offered by any other vendor in the industry.
These Instablocks allow you to create and save custom blocks to use across your landing pages.
Think of these like templates, except for the fact that they are used for specific sections like:
- Text.
- Videos.
- Images.
- Header.
- Top bar.
- Frequently asked questions.
- And many more that you can see in the image above.
Is this one of the most ground-breaking features in the world?
I’d have to say no…
But it certainly is helpful to have as this can definitely help you create landing pages faster.
Let’s look at one more important feature when it comes to the competition of Unbounce.
Instapage AB Split Testing (Experiments)
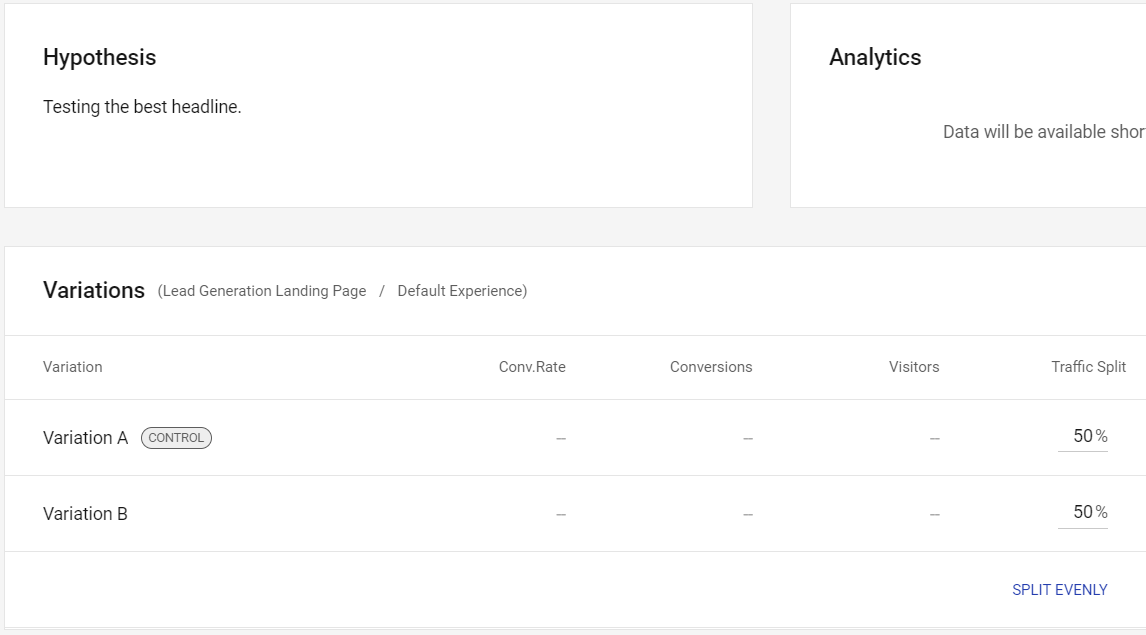
As opposed to being called split testing?
Instapage takes a scientific approach and calls it Experiments.
Creating an Instapage split test is actually even easier than creating a landing page.
Once again, this was something that I figured out on my very first try without needing a tutorial.
Here are the simple steps that come along with creating a split test:
- Make a brand new Experiment (give it a name and add a hypothesis).
- Choose the appropriate landing page that you’d like to split test.
- Make a copy of your control (that would be your main landing page).
- Click the Split Evenly link so traffic gets sent evenly at 50% each.
If you’re looking to run any type of split testing?
Then you’ll certainly like the Instapage Experiments feature.
Nevertheless.
I think that should give you a great idea of what you can expect from their landing page editor.
Overall, it’s a simple and smooth process that will have you creating landing pages quickly…
Thanks to the help of:
- Various templates.
- An easy-to-use drag-and-drop editor.
- Along with the ability to utilize Instablocks.
You certainly don’t need to be a technical wizard in order to create your landing pages:
If you’d like to read my full review about Instapage?
I’d recommend reading more about them in the blog post I did below.
Highly Related: In-depth Instapage review.
But how does Instapage compare to what Unbounce has to offer for landing pages?
Let’s find out in the next section of this “vs” post.
Time to dig into one of the most similar Instapage alternatives and see what they have to offer.
Unbounce Landing Pages

The picture above is the dashboard that you’ll see once you log into Unbounce.
Allow me to walk you through the process of creating an Unbounce landing page as well.
So after you click on the Create New button (which you can’t see in the image above)…
You will come to a page where you have a wide variety of Unbounce templates to choose from.
Here’s what you can expect to see (which can always change slightly):
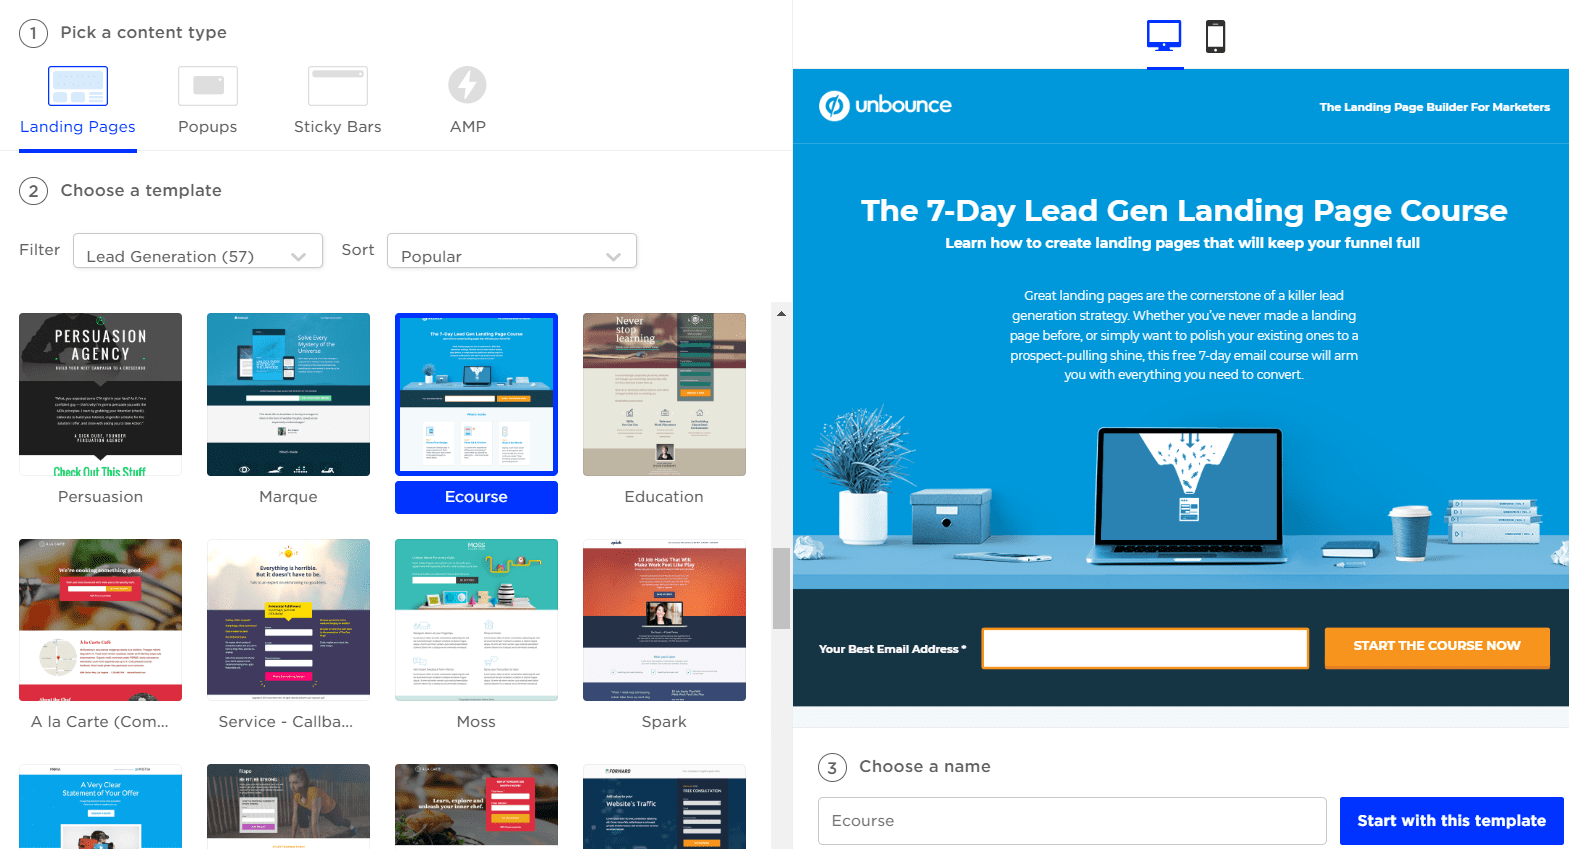
I noticed that this process was slightly easier to set up (as everything is in your immediate view).
- Pick your content type: landing page, popups, sticky bars, or AMP.
- Choose your template (there are well over 100 templates to choose from).
- Choose a name for your template and click on the Start with this template button.
I ended up going with the lead generation template that is highlighted in the picture above.
You’ll probably never guess the name that I used for it either:
Unbounce Landing Page.
I know I know, the names that I’m coming up with for these landing pages are phenomenal 🙂
So now we enter the Unbounce landing page editor, and here is what it looks like:

Aside from the black border around the edges?
Creating an Unbounce landing page is very similar to Instapage.
- There’s your landing page in the middle.
- You’ve got all of your icons on the left side of the page.
- And you simply drag and drop what you want to use (and then edit it).
Note: There are also more page properties and settings on the right side of the editor…
I just happen to cut them off so that the picture wouldn’t be too large.
You’ll also be happy to hear that dragging and dropping sections is a breeze as well.
It’s funny because I feel like I’m using a similar editor just with a slightly different look.
Unbounce also comes with the ability to split test your landing pages as well.
Unbounce Split Testing

Here are the steps that it took to get a split test ready to go:
- Click on the A/B Test tab.
- Duplicate the First Variant landing page and then make an edit to it to test.
- Once again, set the weight of traffic to 50% for each of the landing pages.
The picture above demonstrates all of the steps that I created to get to the end.
Let’s look at two more features that are unique to Unbounce.
Unbounce Popups

If you look at the image above (on the right side)?
You’ll pretty much see this Unbounce popup in action?
Popups are a simple way to nudge visitors to take a specific action of your choice including:
- Making a sale.
- Offering a free trial,
- Getting more leads.
- Directing traffic to a different page.
You can be as creative as you like when it comes to popups.
It’s easy to say that Unbounce is much better in this department.
And they should be…
Since this is a feature that Instapage doesn’t have (at least at the time of writing this).
Here is one more feature that Instapage also doesn’t come with.
Unbounce Sticky Bars

So here’s the scoop when it comes to Unbounce sticky bars.
It’s a simple horizontal bar that you can *stick* at the top or bottom of your:
- Page (and/or).
- Website.
And utilizing one of these helps you significantly increase your conversions.
I’ve used sticky bars before and they definitely help get attention on something important.
All in all though?
It’s pretty crazy just how similar these two landing pages builders are when it comes to:
- Selecting templates.
- Setting up split testing.
- Creating your landing page.
And the overall simplicity of everything.
Yeah, there might be some small differences in terms of the features of each…
But I think you’ll also enjoy the process of creating your high-converting landing pages.
Or if you’d like to get even more information when it comes to Unbounce?
You can check out the related post down below.
Related Review: This post gives you even more information.
What software you use will ultimately come down to features, perks, and cost.
Now onto one of the biggest comparisons when it comes to Unbounce vs Instapage.
Comparing The Two Landing Page Builders’ Investment
There’s going to be one software that is overall less expensive when it comes to these tools:
That would be Unbounce, especially when you get an even bigger discount with them.
Related: How to save up to $597 with Unbounce.
However, the price isn’t always going to be the winning decider between software.
After all, you need to keep in mind the features and perks that come along with each tool.
Let’s take a look at what each of the landing page builders has to offer for their price tags.
How Much Will Instapage Be?
Instapage comes along with two plans, and here’s what you’d be looking to invest with each:
- Instapage Business is $199 per month ($149 per month if paid annually).
- Instapage Enterprise you will need to contact sales to get your custom price.
Here are some of the basic perks that come along with the first Business plan:
- 30 published landing pages.
- 5 workspaces as well as 5 team members.
- 30,000 monthly traffic volume (for unique visitors).
I did a complete post about the plans, perks, and prices if you’d like more information:
Related: More information about the Instapage pricing plans here.
Now let’s talk about Unbounce for a little.
How Much Will Unbounce Be?
Unbounce happens to come along with three plans to choose from:
- Unbounce Essential is $99 per month ($79 per month if paid annually).
- Unbounce Premium is $199 per month ($159 per month if paid annually).
- Unbounce Enterprise is $499 per month ($399 per month if paid annually).
Here are some of the basic perks that come along with the first Essential plan:
- 75 published landing pages.
- 8 published popups and sticky bars.
- 500,000 monthly traffic volume (for unique visitors).
So all in all.
Unbounce gives you more published landing pages as well as much more monthly traffic.
I also did a complete post about Unbounce and the perks that come along with each plan.
Related: All of the Unbounce pricing plans.
You now have a TON of information when it comes to these two landing page builders.
Let’s get to the grand finale, and probably the most important part of this blog post.
Unbounce Vs Instapage Grand Finale (Who To Use)
Here are the BIGGEST differences between Instapage and Unbounce summed up quickly.
Intapage is laser-focused on creating landing pages that you can scale and optimize with paid advertising.
Unbounce is a lower-cost landing page builder that focuses on many more casual features that might appeal to a wider variety of marketers.
Here are the helpful guidelines when it comes to who you should use.
Use Instapage If
- You want advanced landing page features.
- Paying slightly more isn’t that big of a deal for you.
- You run pay per click (PPC) ads (or will in the future).
- You aren’t a beginner marketer and have a good amount of experience.
If any of those main points above really describe you or what you need?
Then there’s a good chance that you should use Instapage as your landing page builder.
And now we have Unbounce.
Use Unbounce If
- The lower-cost pricing catches your eye.
- You want more basic features (like popups and sticky bars).
- You need more published landing pages and monthly unique visitors.
- Your online marketing experience is anything but grizzled veteran status.
And if any of those points cater to you?
Then I’d recommend that you use Unbounce for your landing page needs:
That should do it.
Thank you for taking the time to stop by and read this review post.
I put a ton of time into testing out each company so I hope that it helps you out.
And regardless of which software you end up using?
May it help you increase your conversions, leads, and sales.
Enjoy.
